Learn step-by-step how to configure a CI/CD workflow for Expo React Native apps using GitHub Actions. Simplify app development and deployment with automation.
Continue readingPost Category → scripts
How to Easily Compress and Join Your Videos Using a Simple Script
So I just found myself on creating a video header background for a client’s site, and needed to join about 7 videos, compress them to an aceptable size for the web, and didn’t really want to download iMovie or use a video editing software. My approach was to use a simple script. Whether you’re working on a Mac or another Unix-like system, this should work for you. Let’s dive in!
Why Would You Want to Do This?
Sometimes you’ve got a bunch of video clips from your phone, camera, or other sources, and you want to make them into one seamless video. Maybe it’s for a vlog, a presentation, or just to share with friends. But those raw video files can be huge, and stitching them together can be a pain if you don’t know the right tools. That’s where this script comes in handy!
What You’ll Need
- A Mac or Unix-like system: This script uses
ffmpeg, a powerful and free tool for handling videos. - Some basic terminal knowledge: Don’t worry, I’ll walk you through it!
The Script
Here’s the magic script that does it all. Just copy this into a text file, save it as something like compress_and_join.sh, and make sure it’s executable.
#!/bin/bash

# Ensure we're working in the directory where the script is located
cd "$(dirname "$0")"

# Step 1: Compress each video and create intermediate files for concatenation
index=0
for f in *.mov; do
  if [ -f "$f" ]; then
    index=$((index + 1))
    output="compressed_${index}.mp4"

    # Compress the video
    ffmpeg -i "$f" -vcodec libx264 -crf 28 -preset fast -vf "scale=-2:720" -an "$output"
  fi
done

# Step 2: Generate a list of all compressed video files
concat_list="concat_list.txt"
rm -f $concat_list
for f in compressed_*.mp4; do
  if [ -f "$f" ]; then
    echo "file '$f'" >> $concat_list
  fi
done

# Step 3: Concatenate all videos by re-encoding them into a single stream
ffmpeg -f concat -safe 0 -i $concat_list -c:v libx264 -crf 28 -preset fast -c:a copy final_output.mp4

# Cleanup temporary files
rm $concat_list
rm compressed_*.mp4
How to Use the Script
- Save Your Script: Drop this script into the folder where your
.movvideo files are located. - Make It Executable: Open your Terminal and navigate to the folder with the script. Run the command:
chmod +x compress_and_join.shRun It: Now, just run the script:
./compress_and_join.shAnd that’s it! The script will do all the heavy lifting—compressing each video and then joining them into a single file called final_output.mp4.
Why This Works Like a Charm
- Compression: The script uses
ffmpegto compress each video so they take up less space but still look good. - Re-encoding: Instead of just slapping the videos together (which can cause issues), this script re-encodes them into a single smooth video.
- Simple: You don’t need any special software or hours of fiddling around—just run the script and let it do its thing.
Wrapping Up
If you’re a video enthusiast or just someone who occasionally needs to work with video files, this script is a real time-saver. It’s a simple, effective way to compress and join videos without needing to mess with complex editing software. Plus, once you’ve set it up, you can reuse it whenever you need to—just drop it in a folder with your videos, and you’re good to go.

Exporting Clerk Users to a CSV
Hey everyone! 👋 Today, I’m excited to share a project I recently worked on.
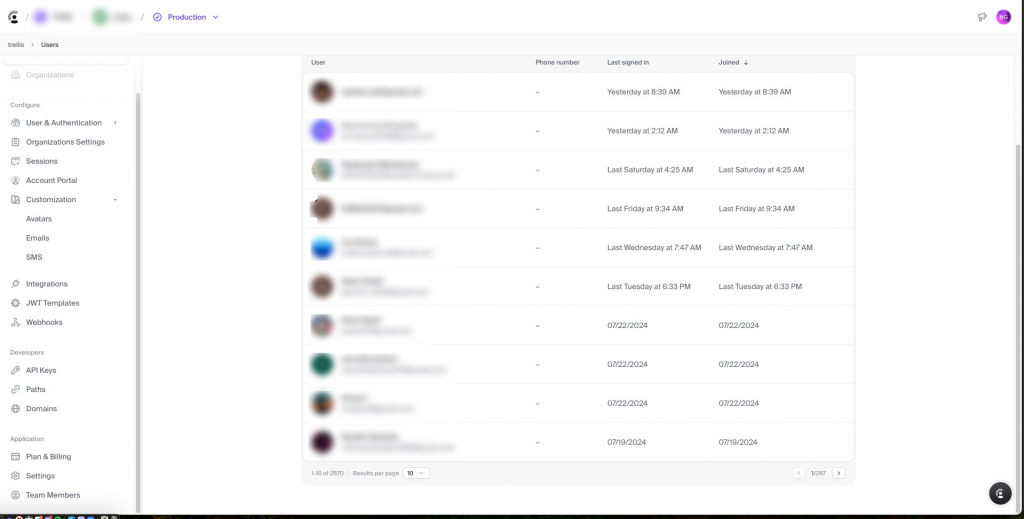
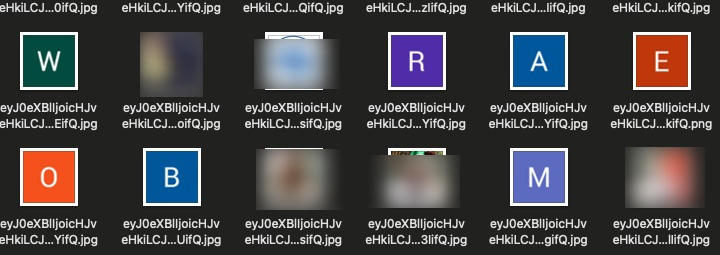
We often need to export Clerk user data for things like mass email campaigns and whatnot. The problem is their dashboard doesn’t allow you to export. You can contact their support team, but that takes time and is somewhat focused when you’re moving away from Clerk. It’s much more efficient to do it yourself with a simple script that allows you even to export user images.

We’ll fetch user data from an API, download their profile images, and save everything into a CSV file. It’s a fun and practical exercise, perfect for anyone looking to get hands-on with Python, APIs, and data handling.
What You Need
- Python: Our main tool for this project.
- Requests Library: For making HTTP requests.
- CSV Library: To handle CSV file operations.
- A Clerk API Key: To access the user data.
- An
image_urlColumn: To fetch profile images.
Setting Up the Environment
Before we dive into the code, let’s set up a virtual environment. This keeps our dependencies organized and prevents conflicts with other projects. Here’s how to do it:
- Navigate to Your Project Directory:
cd /path/to/your/project- Create a Virtual Environment:
python3 -m venv env- Activate the Virtual Environment:
source env/bin/activate- Install Required Packages:
pip install requestsThe Core Script: Fetching Data and Downloading Images
Now, let’s get to the main script. This script fetches user data, downloads their profile images, and saves everything into a CSV file.
import os
import requests
import csv
import time
from urllib.parse import urlparse
from pathlib import Path

def fetch_all_users(api_key):
    url = "https://api.clerk.dev/v1/users"
    headers = {
        "Authorization": f"Bearer {api_key}",
        "Content-Type": "application/json"
    }

    offset = 0
    limit = 500
    all_users = []

    while True:
        params = {
            "limit": limit,
            "offset": offset
        }
        while True:
            response = None
            try:
                response = requests.get(url, headers=headers, params=params)
                response.raise_for_status()
            except requests.exceptions.HTTPError as err:
                if response.status_code == 429:
                    print("Rate limit exceeded. Waiting for 60 seconds before retrying...")
                    time.sleep(60)
                    continue
                else:
                    raise SystemExit(err)
            break

        data = response.json()
        all_users.extend(data)

        if len(data) < limit:
            break
        offset += limit
        time.sleep(1)  # To prevent rate limiting

    return all_users

def download_image(url, save_folder):
    try:
        response = requests.get(url, stream=True)
        response.raise_for_status()

        # Determine the file extension from the response header or URL
        content_type = response.headers.get('Content-Type', '')
        extension = ''

        if 'image/jpeg' in content_type or 'jpg' in url:
            extension = '.jpg'
        elif 'image/png' in content_type or 'png' in url:
            extension = '.png'
        elif 'image/gif' in content_type or 'gif' in url:
            extension = '.gif'
        elif 'image/webp' in content_type or 'webp' in url:
            extension = '.webp'
        else:
            print(f"Unknown image type for URL: {url}, Content-Type: {content_type}")
            return None

        # Extract filename from URL and add the extension
        parsed_url = urlparse(url)
        filename = os.path.basename(parsed_url.path)
        if not filename.endswith(extension):
            filename += extension

        save_path = os.path.join(save_folder, filename)

        # Save image to the specified folder
        with open(save_path, 'wb') as file:
            for chunk in response.iter_content(chunk_size=8192):
                file.write(chunk)

        return save_path
    except requests.RequestException as e:
        print(f"Error downloading image: {e}")
        return None

def write_to_csv(users, image_folder):
    keys = list(users[0].keys()) + ['local_image_path']
    Path(image_folder).mkdir(parents=True, exist_ok=True)

    with open('users.csv', 'w', newline='') as output_file:
        dict_writer = csv.DictWriter(output_file, keys)
        dict_writer.writeheader()

        for user in users:
            # Download the image and get the local path
            image_url = user.get('image_url', '')
            local_image_path = None
            if image_url:
                local_image_path = download_image(image_url, image_folder)
            user['local_image_path'] = local_image_path or 'Image download failed'

            dict_writer.writerow(user)

if __name__ == "__main__":
    _api_key = os.getenv("CLERK_API_KEY")
    _users = fetch_all_users(_api_key)
    image_folder = 'images'
    write_to_csv(_users, image_folder)
    print(f"Total users fetched: {len(_users)}")
What Does This Code Do?
- Fetching User Data:
- The
fetch_all_users(api_key)function makes requests to the Clerk API to get user data. It handles rate limiting and pagination.
- The
- Downloading Images:
- The
download_image(url, save_folder)function downloads images from the URLs and saves them in the specified folder with the correct file extension.
- The
- Saving Data to CSV:
- The
write_to_csv(users, image_folder)function writes the user data to a CSV file, including the local paths of the downloaded images.
- The
Running the Script
- Activate the Virtual Environment:
- Ensure your virtual environment is activated, and the necessary packages are installed.
- Set the API Key:
- Export your Clerk API key to the environment:
export CLERK_API_KEY="your_api_key_here"3. Run the Script:
- Execute the script:
python fetch_users.pyThis will fetch the data, download the images to the images folder, and save the information in users.csv.
Final Thoughts
And that’s a wrap! This project was a great way to dive into working with APIs, handling data, and managing Python environments. We fetched user data, downloaded images, and saved everything neatly in a CSV file. If you’re looking to expand your skills, this is a practical and rewarding project to tackle.
Feel free to experiment and tweak the code to suit your needs. Happy coding! 🧑💻


